How to Clean Your Guitar (Part 1)
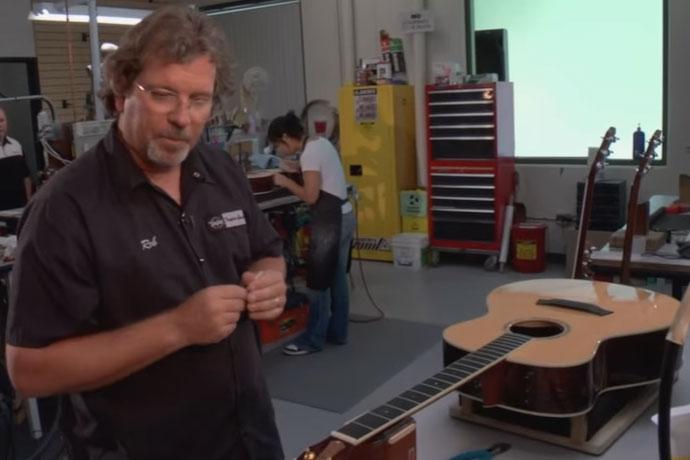
Rob Magargal at the Taylor Guitars repair facility shares how they clean and maintain guitars.
Level of Difficulty:
Easy
Quote:
"Basic Maintenance that I know you can do."
Materials Needed:
String/Wire Cutter
Clear wax or guitar polish
#0000 Super Fine Steel Wool
Plumber’s Tape
Linseed oil
Phillips head screwdriver
10mm Socket
Paper Towel
Clean cloth
-
Read the Video Transcript
Hi, I'm Rob Magargal here at the Taylor Guitars repair facility. I'm here to show you some basic tricks that I know you're going to be able to do for the care and feeding of your guitar - basic waxing and re-stringing techniques.
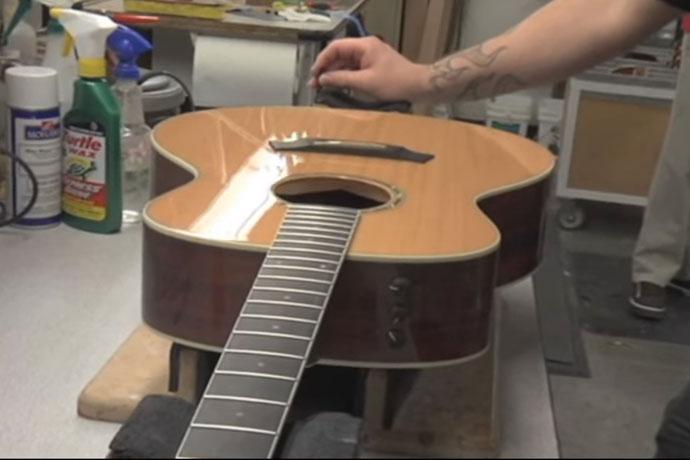
I'm going to take the strings off first, we can take them all off at one time. I'm going to come up to the headstock, hold my strings and loosen them slowly. This is going to allow me to remove my strings at the tail end of the guitar. A lot of people feel they need to unwind them and then pull or cut them. I like come up to the tail of the guitar.
I'm going to grab my cutters. I'm going to lift out the pins, and the strings are going to stay in the slots. This is nice and easy, it's a way to not damage anything - you don't hurt yourself, you don't hurt the guitar. You can see how easy these are going to come out of the slot.
I'm going to hold these and come all the way up to my head stock now. Because we don't tie strings on Taylor Guitars these are going to unwind very easily, you can see how they are just coming right off. Before we get to the stringing part, I'm going to go over just the basics of cleaning the guitar.
I'm going to take my saddle out, because it might fall out. I'm going to grab my wax - we use Turtle Wax here at Taylor Guitar factories, its Express Shine and this is a clear wax. It's not the paste wax you'd normally think of for your car, but this is a car wax although any other guitar polish will do just fine as long as it doesn't have a really big silicone base.
I'm going to do a nice easy polishing of the guitar, but what I'm not going to do is put any of this wax on my bare wood - we don't want to do that, we're going to do that at another time.
I'm going to clean up the sides of the guitar and the back of the guitar. Something we do here that a lot of people don't, and I highly suggest it, is wax the back of the neck.
It's a real important step - you want to know nice fast playing guitar, so the back of the neck is very important.
Now our guitar is clean and waxed, next we'll clean our fingerboard.
To clean the fingerboard, here at the factory we use 0000 steel wool, you can get it in any hardware store. It's nice and soft, feels like cotton but it is a steel wool.
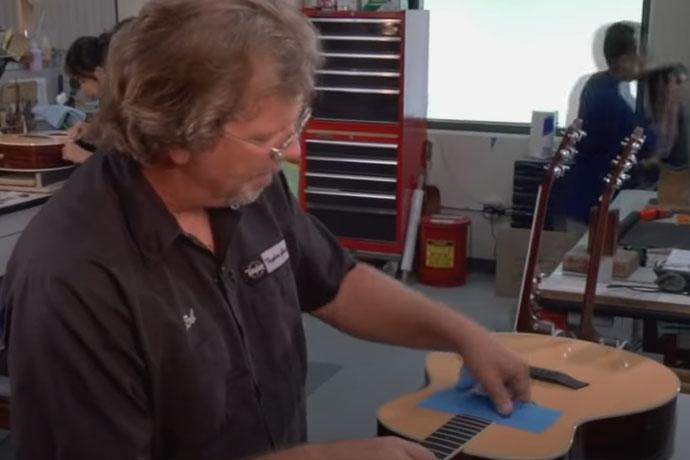
We have a magnetic pickup in this guitar and we don't want particles on the inside of the guitar, so I'm going to take some masking tape and cover my sound hole. This will keep the little steel wool particles from getting inside and attracting onto the pickups. Taylor guitar systems are all magnetic.
With our steel wool, from the headstock, straight with the grain, perform light buffing motions. Now it's basically clean, and this has taken all the oxidization off the guitar and cleans up all the dirt. Now, we're going to sweep this away.
Now, what's important is waxing the guitar first. By waxing the guitar first and having it polished, all of the little fragments come right off the guitar & you won't scratch the guitar, you won't hurt your instrument.
I'm going to grab a paper towel, and fold it up into a square. We have some linseed oil - you can use fretboard cleaner, a lot of companies on the market have a fretboard cleaner - but we use boiled linseed oil here at the factory. We're going to put a little on the paper towel, and blot it into the rag. I don't want it to be too saturated when I first put it on, you can see that I'm putting it on the fingerboard but it's not soaked, we're just applying it all the way down the full length of the fingerboard. Flip the rag over to the clean side (nice and dry) now buff off any excess. We don't leave it on there - you may read directions on the can of boiled linseed from the canister that says to leave it on for 12 to 24 hours - no, this is not furniture, it's your guitar.
We now have the fingerboard ready to go, it's been polished and cleaned up. It's been oiled, the guitar is polished and cleaned up. I'm going to remove my tape. Once again because we did wax it first, it makes it lot easier, if there's any oil residue left on the guitar we can just wipe it away.
Come up to the head stock of the guitar. The tuner nuts on the guitar are very important, the posts are always turning as you can see here. With tension on the post, it can loosen the tuner nut so what we're going to do is take a ten millimeter nut wrench. We're going to tighten those up a little bit - you can see they're pretty tight but I can move them a little bit and that's what i want to check. What I'm not doing is crushing the guitar but we are giving it a little bit of a snug down.
Also, the tuner buttons on the guitar, that's a real important thing to check, you want to make sure that those are nice. Now these ones feel really good, but if we had an issue we could come over to the tuner button. There's a little screw right there - take a little philip's head and if I turn it to the right it's going to tighten it up and that's going to make this turn [tuner button] a little tighter. You don't want it too tight, but that'll keep it from just falling out and making the guitar go out of tune.